Homemade Pizza

by Nicki Who doesn't love pizza? I know it is a favourite for all of us in this house.  So, last weekend, we decided to try making homemade pizza.  I have fond memories of making pizza at home when we were kids, so naturally, my first thought was how to get Liam involved in the process and make this a fun family dinner for start to finish!

Having just woken up from his nap, Liam was much more interested in his juice than in mixing and kneading pizza dough, however, watching yeast rise is really cool and a good science lesson for older kids.

100_2341

Once the dough was mixed, kneaded and risen, Liam was ready to help.  He had a blast punching down the dough and was thrilled to get to use my marble rolling pin to roll out the dough.  It is one of those things on the counter that he always wants to play with!

100_2355

Then, he used a spoon to "paint" the crust with pizza sauce.  He is very artistic!!

100_2359

My favourite part, the toppings were added next.  We kept it pretty simple, lots of meat (pepperoni, salami and ham), tomatoes, mushrooms and cheese.

100_2360 100_2367

In order to make this a true family cooking experience, the pizza was then presented to Henry to be BBQed.

100_2369

After about fifteen minutes on the BBQ, the pizza was cooked and ready to eat.  It was delicious and we all had fun making it.  Homemade pizza will become a frequent dinner menu item at our house from now on.

100_2373

Pizza Crust Recipe

  • 1 cup warm water
  • 2 tsp sugar
  • 1 tbsp yeast

Dissolve sugar in water.  Sprinkle yeast on top. Let sit for 10 minutes.

  • 4 tbsp oil
  • 2 tsp salt
  • 2 1/2 cups flour

Add yeast mixture to dry mixture and stir together.  Knead for 10 minutes.  Let rise until doubled, approximately 45 minutes.

Punch down, roll flat and press into pan.

Add your choice of sauce and toppings.

Bake or BBQ at 350 degrees for 15 to 20 minutes.

This recipe makes the perfect amount of dough for a large cookie sheet.

*****

Nicki is a working mom of one two-year-old boy, Liam. She is an Early Childhood Educator and in her spare time, volunteers for New Moon Rabbit Rescue and as a Brownie Leader with Girl Guides of Canada. She loves to garden, scrapbook and write! You can read more about Nicki on The Perils of a Working Mom.

Healthy School Snacks

by Maranda I rarely buy packaged snacks for my kids. They are generally not good for their health, our grocery budget or the environment. Instead we buy things in bulk and package them up in reusable containers, and I bake snacks for them to take to school. That way I know exactly what they’re eating, while at the same time teaching them to be eco-conscious and saving money.

This year I’m packing three lunches every day, so I’ll be baking an awful lot! I got a head start on things before school started and continue to stash things away in the freezer.  I know kids will get bored eating the same thing day after day, so I bake specifically for the freezer or I’ll bake a double batch of something and freeze half for later.  I try to keep at least two to four different items in there for them to choose from when making their lunch.

Wrap individual portions (one muffin, two cookies, etc.) in plastic wrap, then place in a freezer bag and squeeze the air out. Mark the bag with item name and date baked, and use within 2-3 months. If you make lunches the night before, baked goods will be thawed by lunch time the next day.

Here are a few of my boys’ favourite lunch box snacks:

Pumpkin Chocolate Chip Cookies: Truly a lunch staple in our house, these soft and cake-like cookies are delicious and freeze very well. The addition of pumpkin and white bean puree do double duty by making them super moist and sneaking in vitamins and fibre. The kids love them, and so do I.

Whole Wheat Carrot Raisin Waffles: These waffles are very dense, and my kids enjoy them equally well as a snack. I cut them in eighths with kitchen shears and freeze four wedges in a package. Also makes a great lunch; send a container of yogurt or apple sauce to dip them in.

Carrot and Ginger Mini Muffins: Yummy carrot, cinnamon and ginger muffins are delicious and pack a nutritional punch with lots of vitamins and antioxidants. Use the finest size on your grater so the vegetables are not too suspiciously chunky.

Cranberry Breakfast Cookies:  My four year old and I dubbed these “Bulk Barn Cookies” because that’s where we bought all the ingredients, and they do have a lot of ingredients! Loaded with oats, cereal (my variation, original recipe calls for almonds), sunflower seeds and cranberries these delicious cookies are a great alternative to granola bars.

And for the last decade I have been making these mini muffins regularly. I don’t know now where the recipe came from or what they were originally called, but they were a favourite of my son Julian since we was a wee guy and they’ve long been known as “Julian Muffins” in our family.  When he was in half day kindergarten we used to bake them together regularly before school, and he still enjoys helping to this day.

Carrot and Zucchini Mini Muffins

¼ cup (50 mL) vegetable oil ½ cup (125 mL) brown sugar 1 egg ¾ cup (175 mL) applesauce 1 cup (250 mL) grated carrots 1 cup (250 mL) grated zucchini 1 cup (250 mL) all-purpose whole wheat flour ¾ cup (175 mL) all-purpose flour 2 tsp (10 mL) baking powder 1 tsp (5 mL) cinnamon ½ tsp (2 mL) nutmeg ½ tsp (2 mL) salt

Preheat oven to 400°F (200°C). In a large bowl, whisk together oil and sugar. Beat in egg, then applesauce. Stir in carrots and zucchini.

2.    In another large bowl, whisk together flours, baking powder, cinnamon, nutmeg and salt.

3.    Fold dry ingredients into wet, until just mixed. Spray 2 mini-muffin trays (24). Spoon batter to the very top of muffin cups (they will be very full) and bake 15 to 18 minutes or until a toothpick or cake tester comes out clean when inserted in a muffin.

What kinds of snacks do send in your kids' lunches?


maranda

Maranda Carvell is a mom of four, nutrition advocate and stealthy chef. When she's not blogging and writing for Pathways To Life, you can find her tweeting about family, gaming, Ottawa and more as @HotelQueen.

Enhanced by Zemanta

A veggie bread they'll love

by Krista When I first saw this recipe posted on @refashionista's blog I knew I had to try it. It's a recipe for bread that makes use of your leftover veggies. It looked very simple, and her description really sold it. I knew that I would love it, but secretly hoped the lils would too, so that I could get a few more portions of vegetable into them.

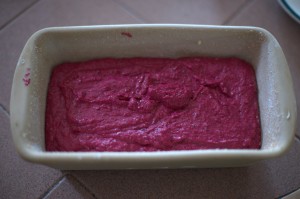
I was so excited to try this recipe that I actually bought and cooked far too many beets for our family. Armed with the leftovers the next day, I asked the lils if they wanted to make beet bread. They jumped at the idea, and even started singing a song that sounds remarkably like the Batman tune... "na-na-na-na-na-na-na-naaaa beet bread!" They knew what was going into it, yet were still excited. It might be because I compared it favourably to banana bread, or it might have been that it look like this just prior to going in the oven:

They sampled within minutes of it coming out of the oven, and were instantly in love. I get asked at least weekly to make beet bread and willingly oblige, as I love it too. You can make the recipe with any leftover vegetables, but truth be told I've never tried!

@Refashionista's Beet Bread (slightly modified by me)

1 cup white flour 3/4 cup whole wheat flour 1 tsp baking soda 1/4 tsp baking powder 1/2 tsp cinnamon 3/4 - 1 cup sugar 1/3 cup salted butter, softened 2 eggs 1 cup mashed/pureed cooked beet 1/3 cup milk

-preheat oven to 350

- stir together flours, baking soda, baking powder and cinnamon. Set aside.

- beat together sugar, butter and eggs until light and fluffy.

- blend in beets.

- add dry ingredients and milk, alternating, in three additions. Be careful not to overbeat.

- pour into a greased and floured loaf pan and bake for 50-60 minutes (until a toothpick comes out dry when testing).

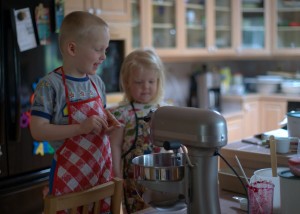
My lil helpers. Woo is singing the beet bread song!

Krista is married to Willy and mom to a 4 year old son, Woo, and 2.5 year old daughter, Goose. You can find her at Life in the Hutch or on Twitter @kgraydonald

Making blueberry muffins with kids

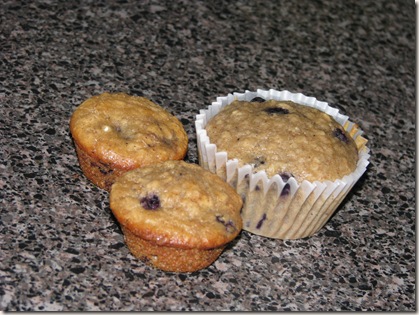
by Rebecca This is a perfect recipe to make with your little one. I got it from the Meals Matter Web site – they have lots of really great info about parenting and children from birth on, including many ‘to make’ together recipes.

These muffins end up being perfect in mini-muffin size for the Boy’s snack at preschool.

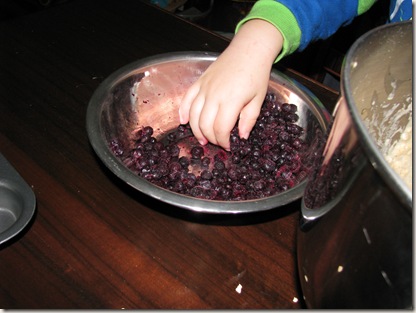
Have fun together – it’s okay if the flour spills (it will) or if they eat the blueberries and get it all over their hands (they will) – that’s part of the fun! The recipe can be found on the Meals Matter, but below are our pictures.

**NOTE: The recipe calls for buttermilk, but I rarely buy it. Instead, add 1 tbsp of vinegar and add regular milk until you reach a cup.

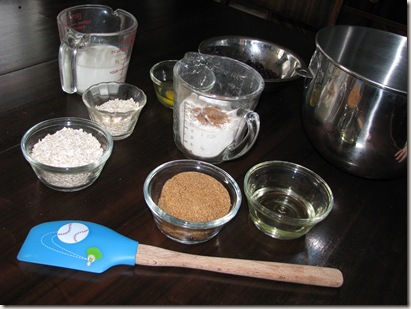
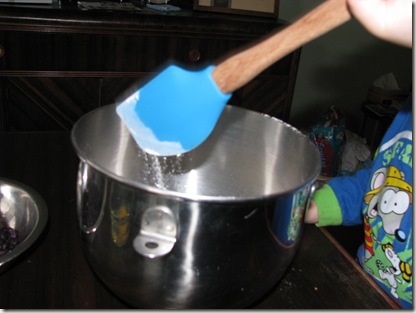
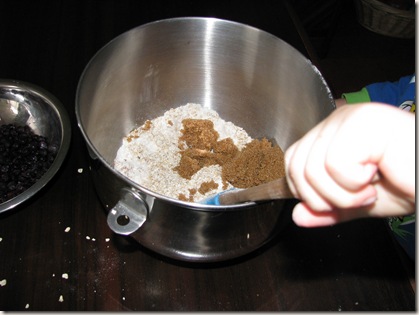
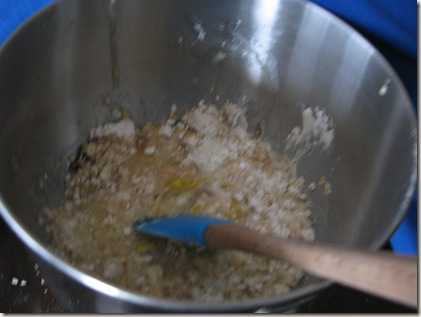
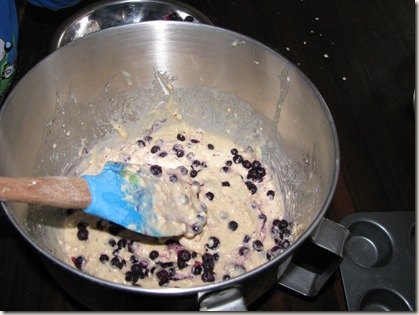
This recipe makes 24 mini-muffins and 6 large, or a dozen large Picture 098 yes, that is a baseball spatula. That’s the one he cooks with ;) Picture 099 Picture 101 Picture 105 Picture 106 Picture 107 Picture 112 Yum! Enjoy

Rebecca blogs about family and motherhood, is a self-professed foodie, and dabbles in online engagement and community giving.  She has a strange love for maple syrup that can possibly only be matched by her love for chocolate and coffee.

Enhanced by Zemanta

Kids can cook - Rainbow cupcakes

by Joanne I don’t know about you but at our house when March rolls around we start to get excited for the arrival of spring!  The kids want to get out on the bikes, we start discussing summer day camps and we love seeing all of the sidewalk chalk and skipping ropes we have in the garage.   We love taking family walks in the evening before bed and don’t even mind the occasional rain shower, especially those that provide us with magical rainbows!  But there is no need to wait until April showers to bring that touch of colour we are all looking forward to – with a little work you can bring the rainbow of colours into your kitchen.   We decided a few days ago that we needed to add a little bit of colour to our days and my daughter was up to the challenge – she would bake some yummy rainbow cupcakes for us!   This is an easy recipe that we found on www.familyfun.com .   It is a simple ingredients list:   Box of white cake mix – or you can make your own from stratch (you will need the ingredients required to make the mix) Food colouring (as few or as many colours as you would like) Cupcake pan liners White frosting (store bought or make your own) Green sprinkles (or even gold coins)   Instructions:   1.   Prepare your white cake mix, then divide the batter into the number of colours you are using.  My daughter used six colours so we needed six bowls.   2.  Once all the batter is divided into the bowls you add your food colouring.   Colour and number of food colouring drops  Purple: 9 red and 6 blue drops Blue: 12 drops Green: 12 drops Yellow: 12 drops Orange: 12 yellow and 4 red drops Red: 18 drops

 3.  Once you have lined your muffin pan with the liners evenly distribute the batter among the cups starting with purple and then blue etc.  It helps to spread the batter a bit with the spoon to make sure it goes down in layers. 4.  Once you have all of the colours in the muffin pan you bake according to the directions of the white cake mix. 5.  Once they are cool you can frost them with white frosting.  My daughter added some green sprinkles to hers but you could add some chocolate gold coins and your little ones will be thrilled to see that they have found the pot of gold at the end of the rainbow.  

  Enjoy!

Joanne the proud mom of Amélie (8 years old) and Mathieu (5 years).  She is new at blogging and you can find her at Our Money Pit.